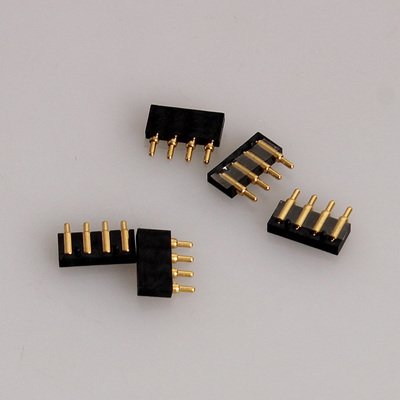
source:pogo pin release time:2021-12-10 Article author:sznbone Popular:POGO PIN

1. For non-contact testing of pogopin connectors, we use laser scanning sensors to detect defects. The detection requires high accuracy and high efficiency. Since the test is usually a gold-plated part, non-contact measurement must be used to prevent wear. At present, the non-contact measurement commonly used at home and abroad mainly uses laser scanning sensors for detection, but this method has nonlinear errors, and the measurement results are easily interfered by the high temperature and vibration of the probe motor. In addition, the laser diffraction method is also a high-precision diameter measurement method, but due to the large measuring mechanism and high environmental requirements, its application in the production site will be limited.
2. CCD projection used by the needle trace single-path measurement system. Linear CCD is used as a high-sensitivity photoelectric sensor. The application of CCD as a high-sensitivity photoelectric sensor in pin measurement has the following characteristics:
1. The pixel size is small, the geometric accuracy is high, and the optical system can achieve high spatial resolution.
2. It has the characteristics of high sensitivity, wide spectral response, and wide dynamic range, and is widely used in industrial non-contact sensing and control.
3. The wavelength is uniform and stable, and the light emitted by the 520nm LED light source is converted into a collimated beam by the collimating lens. After the launch, a part of it is blocked by the target, passes through a set of filters and imaging lens in the receiver, and is finally received by the linear CCD. The CCD sensor scans at a preset sampling rate and calculates the length from it. The size measurement and the measurement result are displayed on the LCD screen at the same time.
3. In order to improve the accuracy and anti-interference function of the measurement system, the pogo pin manufacturer has made improvements in the following aspects:
1. A green LED with a fixed wavelength of 520nm is used as the measurement light source. Due to the lifetime of the laser diode, the laser scanning measurement method does not require rotating parts, which greatly improves the reliability.
2. Add a filter to the receiver to reduce the interference of ambient light.
3. Using high-speed linear CCD, can continuously expose and receive light, and achieve higher sampling rate.
4. After continuous average measurement, that is, after CCD continuous high-speed exposure, the average value within the exposure time can be selected as the result output to observe the instantaneous change of the object. The measuring line and measuring axis are always straight lines, and the actual diameter can be given.
5. LPXJ15.1 diameter measuring system, measuring range 0.110mm, measuring accuracy 0.003mm. This is a high-precision, high-speed online inspection equipment that can perform high-precision size inspection of the measuring object.
Read recommendations:
POGO PIN M440 1.9X3.6pogo pin connector Direct sales
Analysis of gold plating problem of POGO PIN pogo pin
Design of PogoPin electrical connector.nucleic acid probe price